Frostfire Mine is a multiplayer event that sees a huge number of players enter a special map where they must compete to accumulate the most of a resource called Orichalcum. For those who do the best, there are great rewards on offer including rare Charm Designs and Guides to help you upgrade your Chief Gear. Aside from this, it is also a really fun and quick event that, with the right strategy, can even see F2P players competing for the top spots. In this Whiteout Survival Frostfire Mine Guide, we reveal all including specific strategies and tips you can implement to improve your ranking right away!
Table of Contents
Overview
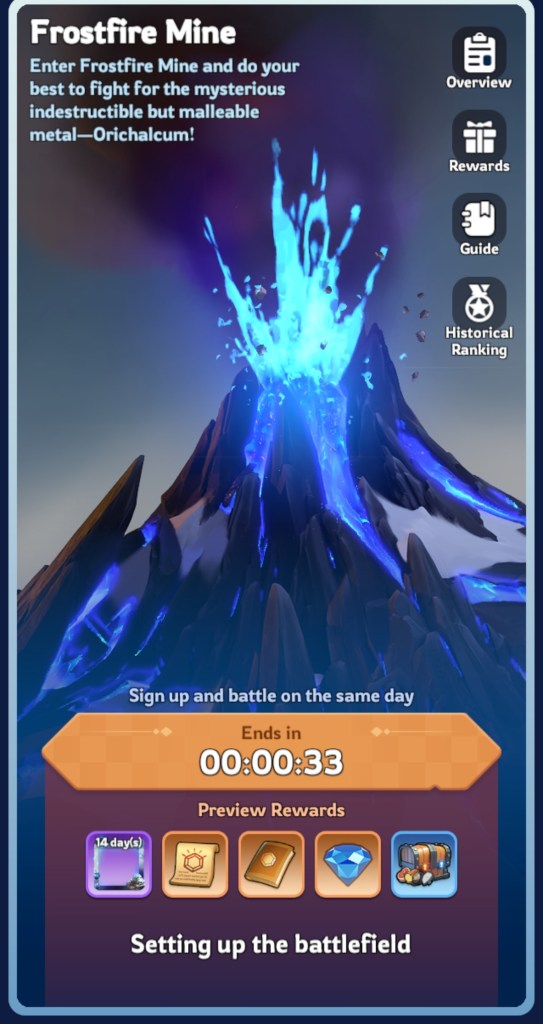
As mentioned in the introduction of this Whiteout Survival Frostfire Mine Guide, in this event you compete against other players on a special map to accumulate the most Orichalcum. As will be covered later, there are several ways to accumulate Orichalcum such as by Gathering at Veins, looting, and more. The Frostfire Mine event occurs about once a fortnight and lasts just 1 day with players required to register for a specific timeslot:
- 02:00 UTC
- 05:00 UTC
- 11:00 UTC
- 14:00 UTC
- 16:00 UTC
- 18:00 UTC
- 21:00 UTC
If you accidentally register for the wrong time slot you can easily change this on the event menu assuming your originally selected slot has not already passed. Once it is your selected time slot, you can enter the event via the event menu or a small Frostfire Mine icon which will appear on the bottom right of your screen. On entering the event, there is initially a 3-minute preparation phase after which you will have 30 minutes to accumulate as much Orichalcum as possible. This is done by sending marches of Troops and Heroes to special locations on the map such as Vein Outbursts. However, beware, there are other players there too who will be competing for the same resources. No Troops are lost during the event.
The Map
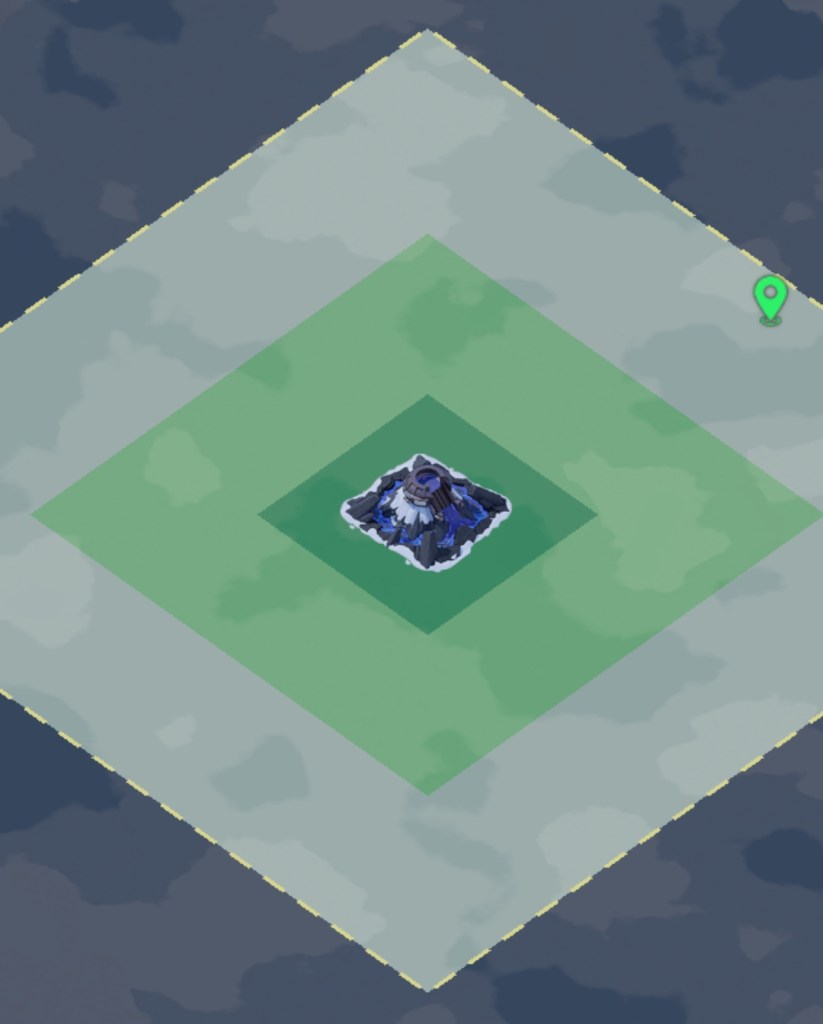
Much like the map in Foundry Battle, upon entering Frostfire Mine, your city is Teleported to a special area where the event takes place. Just like your state map, you can navigate around it to look for potential targets. Once you have found something you wish to target, such as a Vein or a Mine Patrol, you can simply select it and send your Troops there. The outskirts of the map typically feature lower level Mine Patrols and Veins, whilst the center has the highest level as well as the Smelter which will become fiercely contested towards the end of the event.
Teleporting
Next up in this Whiteout Survival Frostfire Mine Guide let’s take a look at Teleporting as it is something that a lot of new players don’t immediately realize you can do during the event. This is vital to understand as it allows you to go anywhere you want, such as closer to the center for higher-level targets or closer to Mine Patrols once you have exhausted those in your immediate area. You can use Advance Teleports for free during the event but this has a cooldown of 6 minutes. Further teleports within this cooldown cost an increasing amount of Advanced Teleports.
Enemies
As mentioned earlier in this Whiteout Survival Frostfire Mine Guide, there will be other players in the event at the same time as you. Although you cannot attack each other’s cities, you can attack any Veins that another enemy occupies in an attempt to capture it from them and gather at it for your own Orichalcum. This hits a climax in the final 5 minutes of the event where the Smelter opens up with players battling over it for huge Orichalcum rewards. However, as will be explored further in the Hero, Skill, and Troops sections below, PvP in Frostfire Mine is very different from PvP elsewhere in the game. Indeed, good strategy and Skill selection can actually take you quite far even if you aren’t a Whale.
Veins
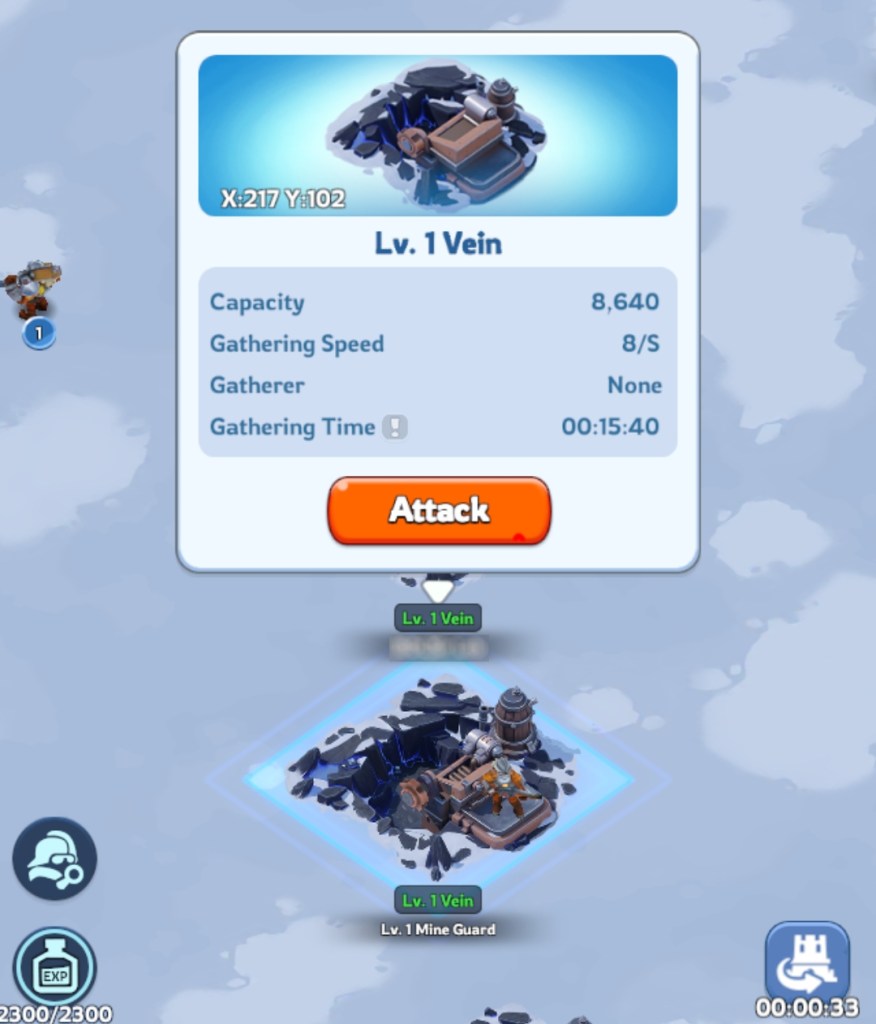
In Frostfire Mine, the Veins are the primary place you will attempt to occupy in order to gather Orichalcum. There are 3 levels of Veins with increasing amounts of Orichalcum available to be gathered and at increasing rates of return. Higher levels are always better to Gather from due to their increased rate of return. Each Vein takes 18 minutes to fully clean out.
| Level | Rate | Orichalcum |
|---|---|---|
| 1 | +8/s | 8,640 |
| 2 | +16/s | 17,280 |
| 3 | +32/s | 34,560 |
It should also be noted that Veins are guarded by Phaethon Mine Guards with the quality of those guarding improving with the mines level. If you abandon a Vein it will remain unguarded, leaving any player to come in and pick up where you left off. Of course, other players can also attack your Veins while you are Gathering there in an attempt to take it from you. If this happens, and you lose, you will not lose any resources you have gathered already but your Heroes that were there will go into a 5-minute cooldown during which they cannot be used. This is also the case if you fail to take someone else’s Vein.
Always send a full march to a Vein, you have unlimited Troops in Frostfire Mine and this makes it harder for another player to forcibly take it from you. Immediately after a successful defense, all wounded Troops are automatically healed. The first time a Vein is defeated, 3 piles of Orichalcum will drop around it. These can be looted by players with players able to send a maximum of 1 squad at a time to loot. The amount of loot in each pile increases with the level of the Vein that they come from.
Vein Outburst
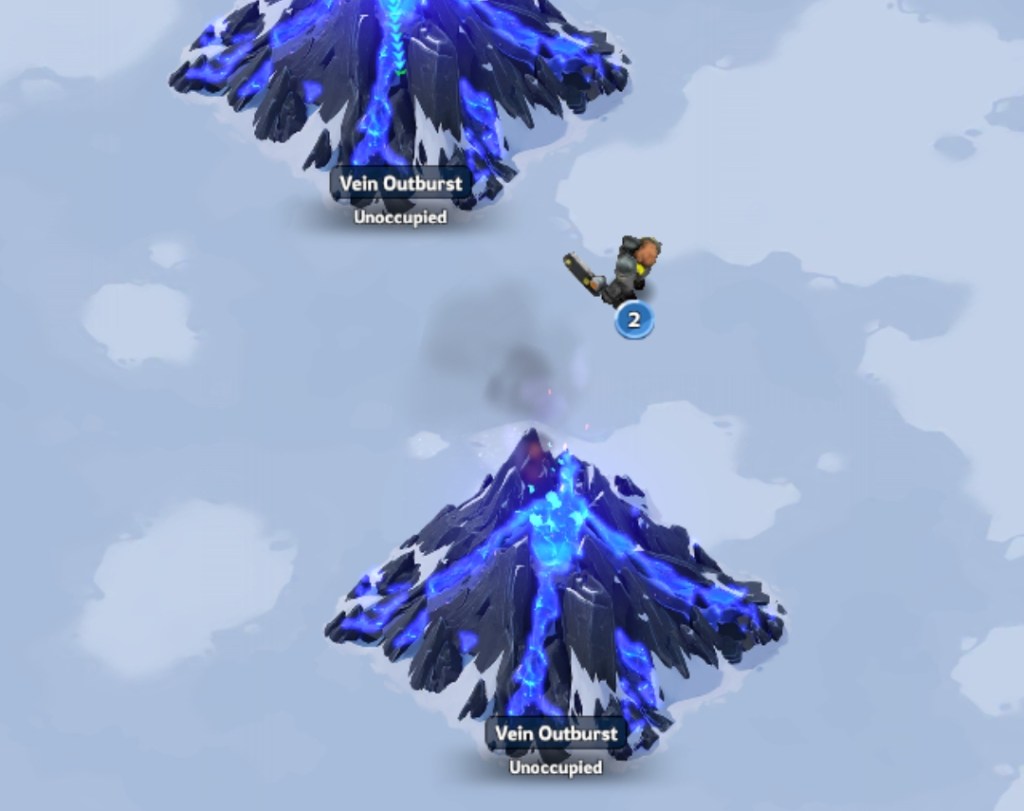
During the event, at certain times there will be Vein Outbursts that can be Gathered for a huge return of Orichalcum. These contain a total of 4,000 Orichalcum that is gathered at a rate of +200/s, therefore taking just 20 seconds to clean them out. These should always be targeted over regular Veins. They spawn at the 8, 9, 10, 18, 19, and 20-minute mark. They are not defended by Phaethon Mine Guards thereby making them easy targets for all players. As such, they will quickly be occupied so you must be ready with free marches to take them as soon as they spawn.
Smelter
23 minutes after the battle has started, the Smelter will open up. As touched on earlier in this Whiteout Survival Frostfire Mine Guide, this building is found at the center of the map and players will fiercely compete in PvP for control. Once the battle ends, players will receive a bonus amount of Orichalcum based on their ranking in terms of how long they had control of the Smelter:
| Rank | Orichalcum |
|---|---|
| 1 | 100,000 |
| 2 | 80,000 |
| 3 | 60,000 |
| 4 | 55,000 |
| 5 | 50,000 |
| 6 | 40,000 |
| 7 | 35,000 |
| 8 | 30,000 |
| 9 | 25,000 |
| 10 | 20,000 |
Mine Patrols
Whilst Veins are typically the main focus of players, another important target on the map is the Mine Patrols. These are squads of NPC Troops that can be attacked in exchange for Frostfire XP which in turn can be used to upgrade your Skills. Although Orichalcum is what you will be ranked on, Skills are crucial in helping you to gather more of it, and, as such, attacking Mine Patrols forms a crucial part of any successful Frostfire Mine strategy.
| Level | Power | EXP |
|---|---|---|
| 1 | 315K | 75 |
| 2 | 8.4M | 150 |
Your Army
As already touched on in this Whiteout Survival Frostfire Mine Guide, PvP here is a little bit different from other events such as Foundry Battle. In particular, you will have an unlimited number of Troops to use and face no losses. This is covered in more detail below.
Troops
During Frostfire Mine you have an unlimited number of Troops. The level of these Troops will be the level of the maximum that you can currently train outside of the event. As a result, you do not need to be careful with how many you use, simply always send full marches to give you the best chance of a successful attack or defense in PvP. Any Troops wounded in a successful defense will be automatically healed, meaning you do not need to continually reinforce your Veins after an attack.
Heroes
The Heroes at your disposal during Frostfire Mine will simply be those that you have unlocked. Unlike with Troops, they will have no changes made to them and remain at exactly the same level with the same level of Gear and Skills that you have given them outside the event. As such, although you have unlimited Troops, your march sizes will be constrained by the level of your Heroes. In addition, unlike other events, after an unsuccessful battle in Frostfire Mine, the Heroes you used will become wounded for 5 minutes, during which time they cannot be used. Heroes use their Expedition Skills during the event.
Skills

As touched on in the previous sections of this Whiteout Survival Frostfire Mine Guide, any Frostfire XP earned from defeating Mine Patrols can be used to upgrade your Skills. There are a total of 5 levels of Skills here, with each level allowing you to select 1 upgrade. The upgrade you selected in the previous level does not restrict the Skill you can select at the next level. These are split into a left and right side as shown in the image above and are as follows.
| Level | XP | Left | Right |
|---|---|---|---|
| 1 | 200 | Obtain 1,080 units of extra Orichalcum per minute. | Defeat Mine Patrols to Obtain 1,500 units of Orichalcum. |
| 2 | 500 | Increases the number of Troops that can be dispatched in a single march by 12,000. | Increases Troop March Speed on the battlefield by 25%. |
| 3 | 900 | Obtain 5,000 units of Orichalcum when occupying a common Vein (triggered once per minute). | Obtain 5,000 units of Orichalcum when failing to occupy a Common Vein (triggered once per minute). |
| 4 | 1.5K | Increases Orichalcum gathering efficiency by 15% when occupying veins. | Reduces Heroes’ recovery time by 30%. |
| 5 | 2.3K | [Mine Armory] Dispatched Troops Damage dealt is increased by 66 for 60s after use (only applies to troops deployed while skill is active, cooldown 5 mins). | [Mine Armory] Dispatched Troops’ Gathering Speed increases by 50 for 60s after use (only applies to troops deployed while the skill is active, cooldown 5 mins). |
For the level 5 skills, these must be manually activated to be used. Once used, you must wait 5 minutes before they can be used again. You will see a small icon on your screen when these can be activated.
Rewards

In Frostfire Mine, there are 2 types of rewards available, Gathering and Ranking. Gathering Rewards are paid out after hitting certain Orichalcum levels with Ranking rewards paid out based on your final amount of Orichalcum gathered versus other players in your time slot.
Gathering Rewards
| Orichalcum | Orichalcum |
|---|---|
| 10K | 1hr Training Speedup x4 10K Meat x120 10K Wood x120 1K Coal x240 1K Iron x60 |
| 25K | 1hr Training Speedup x4 10K Meat x120 10K Wood x120 1K Coal x240 1K Iron x60 |
| 40K | 1hr Training Speedup x4 10K Meat x120 10K Wood x120 1K Coal x240 1K Iron x60 |
| 75K | Charm Guide x10 1hr Training Speedup x4 10K Meat x160 10K Wood x160 1K Coal x320 |
| 100K | Charm Guide x10 1hr Training Speedup x6 10K Meat x160 10K Wood x160 1K Coal x320 |
| 150K | Charm Guide x10 1hr Training Speedup x6 10K Meat x160 10K Wood x160 1K Coal x320 |
Ranking Rewards
| Rank | Reward |
|---|---|
| 1 | 14 Day Blue Flame Avatar x1 Charm Design x80 Charm Guide x50 4,000 Gems Lv.2 Custom Resource Chest x100 |
| 2 | 14 Day Blue Flame Avatar x1 Charm Design x60 Charm Guide x40 3,800 Gems Lv.2 Custom Resource Chest x90 |
| 3 | 14 Day Blue Flame Avatar x1 Charm Design x45 Charm Guide x30 3,600 Gems Lv.2 Custom Resource Chest x80 |
| 4 – 5 | 14 Day Blue Flame Avatar x1 Charm Design x35 Charm Guide x25 3,400 Gems Lv.2 Custom Resource Chest x70 |
| 6 – 10 | Charm Design x30 Charm Guide x22 3,000 Gems Lv.2 Custom Resource Chest x60 |
| 11 – 20 | Charm Design x25 Charm Guide x20 2,500 Gems Lv.2 Custom Resource Chest x50 |
| 21 – 50 | Charm Design x23 Charm Guide x28 2,000 Gems Lv.2 Custom Resource Chest x40 |
| 51 – 100 | Charm Design x20 Charm Guide x16 1,200 Gems Lv.2 Custom Resource Chest x30 |
| 101 – 200 | Charm Design x15 Charm Guide x14 800 Gems Lv.2 Custom Resource Chest x20 |
| 201 – 500 | Charm Design x10 Charm Guide x10 600 Gems Lv.2 Custom Resource Chest x10 |
How to Win Frostfire Mine
There are many tactics that players employ to try and win Frostfire Mine. However, from our experience, 2 reliable methods can be pursued by players to rank well. These will now be covered in more detail in the final sections of this Whiteout Survival Frostfire Mine Guide, with information on the best skills to use and what to target on the map.
Hunting
The Hunting strategy is probably the friendliest for F2P players as, by its nature, it keeps you away from players and instead focuses on taking out NPC troops. The basic idea here is to stay on the outskirts of the map and defeat Mine Patrols. The key here is to get the right side level 1 skill which will see you earn 1.5K Orichalcum for each Mine Patrol beaten. Overall, the best skills to pick for this strategy are as follows:
- Level 1 (Right Skill): This forms the backbone of the hunting strategy with every Mine Patrol defeated granting you 1.5K of Orichalcum.
- Level 2 (Right Skill): This skill increases your march speed by 25% thereby allowing you to take out even more Mine Patrols for Orichalcum.
- Level 3 (Left Skill): Every 60 seconds, this skill grants you 5,000 Orichalcum for occupying a Vein. Once unlocked, keep 1 squad available to take a new Vein every 60 seconds for this bonus. As soon as they have occupied it, simply recall them to repeat the process.
- Level 4 (Left Skill): The only time you will not be focused on Mine Patrols is when there are Vein Outbursts as these offer a better rate of return. This skill increases your gathering speed by 15%, improving the speed with which you can clear these and move on to the next.
- Level 5 (Right Skill): With this skill active your gathering speed increases by +50/s for 60 seconds. This is a massive increase and when you activate it you should switch from attacking Mine Patrols to gathering at Veins for the full 60 seconds. However, it is optimal to only use it during a Vein outburst.
Gathering
The Gathering strategy is a bit more relaxing than the Hunting strategy as you can just leave your squads to do their thing at Veins and Vein Outbursts. However, to rank well with this method things can be difficult as a F2P player. This is because to get the most points you will need to occupy level 3 Veins AND contest for the Smelter. There will be a lot of other players doing the same thing meaning it is extremely likely you will face several PvP Attacks on your Veins. And, the reality is that people who spend the most money on the game will have better Heroes for defeating yours. Nevertheless, the best Skills for the Gathering Strategy are as follows:
- Level 1 (Left Skill): This increases the amount of Orichalcum you can gather per minute by 1,080.
- Level 2 (Left Skill): This increases your march size by 12,000. While this won’t increase the amount of Orichalcum you can gather, it will give you an edge in any PvP encounters versus those who have not selected this skill.
- Level 3 (Left Skill): Every 60 seconds, this skill grants you 5,000 Orichalcum for occupying a Vein. Once unlocked, keep 1 squad available to take a new Vein every 60 seconds for this bonus. As soon as they have occupied it, simply recall them to repeat the process.
- Level 4 (Left Skill): This skill increases your gathering speed by 15%, improving the speed with which you can clear these and move on to the next.
- Level 5: In this strategy, you can choose either the left or right skill for level 5. This will really depend on how aggressive a strategy you are using.
- Right Skill: With this skill active your gathering speed increases by +50/s for 60 seconds. This is best if you are trying to avoid PvP. It is optimal to only activate it during a Vein Outburst.
- Left Skill: When activated, this skill increases the damage dealt by your Troops by +66 for 60 seconds. This must be chosen if you are pursuing a more aggressive PvP strategy as it will help you win attacks against Veins and hold the Smelter for longer.
Final Tips
- Activate any Gathering bonuses you have from items and Pets as these will be active during Frostfire Mine.
- Use your Teleports actively. As soon as you have exhausted the area around you, immediately move somewhere else so you can continue Gathering.
- Always go for the Vein Outbursts, these offer a far better Orichalcum return than anything else in the Frostfire Mine. Make sure you have your squads back and ready for when these begin spawning.
- Make sure you are looting the piles of Orichalcum that drop once a Vein has been occupied for the first time. Over the course of the event, this can add a significant amount to your score.
- Always prioritize empty Veins over those occupied by other players. These empty Veins are guaranteed wins and also serve the purpose of not annoying anyone who then may target you. Of course, this is trickier closer to the center of the map where players congregate for the higher level targets.
More Whiteout Survival Guides from OCG
- Tips for Beginners
- Best Heroes for F2P Players
- Hero Guide
- Exploration Hero Tier List
- Hero List
- Hall of Chiefs
- Best Formations for Exploration
- Fast Gathering
- Alliances
- Alliance Championship
- Daybreak Island
- Troops
- Fishing Tournament
- Expedition Hero Tier List
- Lucky Wheel
- Alliance Showdown
- Flame and Fangs
- How to Get Gems
- How to Increase Your VIP Level Fast
- PvP Tips for Beginners
- Gina’s Revenge
- Hot to Get and Use Teleports
- How to Win in Arena
- Bear Hunt
- Brothers in Arms
- Frostfire Mine
- Crazy Joe
- Beasts & Polar Terrors
- Troop Cost Calculator
- Treasure Hunter
- King of Icefield
- State of Power
- Tundra Trade Route
- Fortress Battles
Join our Community
If you found this Whiteout Survival Frostfire Mine Guide useful, then join our community below to be kept up to date on any new Whiteout Survival Guides published along with other interesting posts from the website.