PvP conflict is a key aspect of LotR: Rise to War and should be the sole focus of your gameplay late in a Season. However, it is not enough to simply smash the “March” button every time without looking at the bigger picture.
Indeed, you need to have a plan to optimize both your own forces as well as the movement of your entire faction. Read on for a broad overview of a few of the most common and useful PvP strategies you can use in LotR: Rise to War to guarantee a more positive impact for yourself and your allies on the battlefield.
Table of Contents
Pathing
Unfortunately, the enemy isn’t just going to make your life easy and come to you. If they do come to you, then it’s probably because they’re confident they can start a fight and win. Therefore, you have to actively take the fight to them. However, doing so requires a lot of Stamina, and you can’t hope to have your strongest Commanders on the front lines if they run out of juice halfway there.
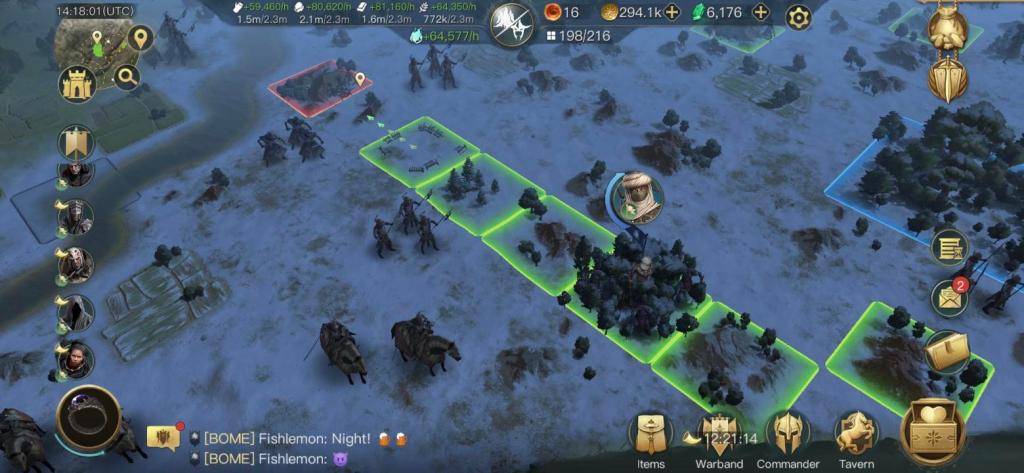
As such, you need Pathers for, well, Pathing. Pathing is simply the act of creating a path toward your target or destination. Sounds simple enough, but the strategy of it comes in the form of efficiency. The best way to path is by loading a lower-level Commander, that you don’t use for PvP, with fast-moving units and rotating them to the front. They can then clear a path for your PvP Commanders to follow.
Target low-power tiles and march them forward, using all available stamina on only creating a roadway. Be sure to connect to any tiles of value along the way and have your stronger forces clean up behind the pathers.
Once your pather is out of Stamina go into their reinforcement window and reduce the troops they have to as low as possible. Then Summon them back to your settlement. Reducing the troops prior to Summoning them makes those troops immediately available to reinforce another pather and send them to the front where your last one left off.
Bottom line: any Commander can path, you just need to be actively utilizing your entire roster as much as possible and value your heavy-hitting Commander’s stamina as the precious commodity it is. Primary things to watch out for when pathing: avoid attacking enemy-controlled tiles as this will show the enemy Commander what you have marching forward and give them the intelligence advantage to choose whether or not to attack you.
Also, when pathing through enemy-controlled regions you may need to use a slightly stronger army, as the reduction to Siege that is applied when attacking enemy regions can be enough to stop you from actually claiming the tiles you attack. Finally, be sure to abandon tiles behind you so as to always have room for taking more! This takes us directly to our next topic, Flipping.
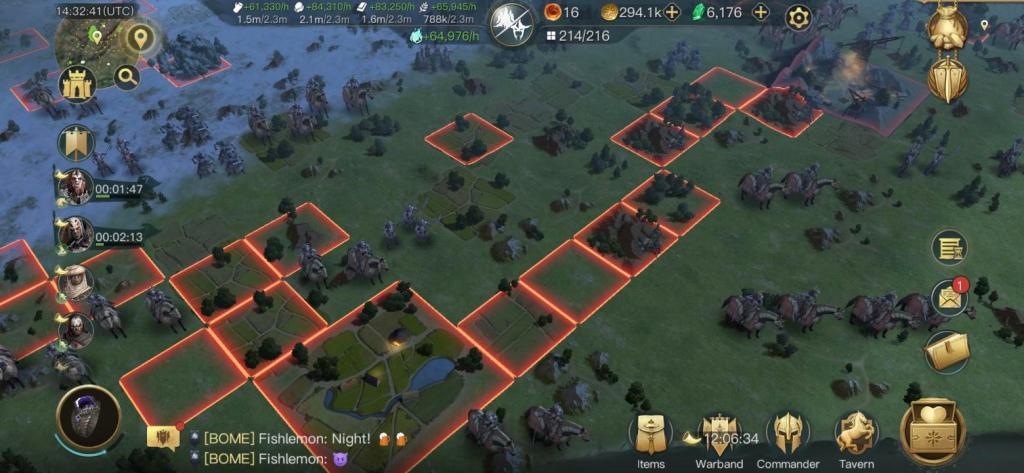
Flipping

Flipping, a.k.a. “Cleaning” is a simple but crucial strategy you must use in LotR: Rise to War PvP. You will only be allowed to take a limited number of tiles based on a couple of factors; primarily your Ring level and Season chapter progression.
You can see how many tiles you own and how many you can have, in total, at the top of the screen underneath your Ring Ability Points. Selecting that will open your Land Overview page. This is a great spot to quickly get a feel for what lands you own without having to hunt them down one by one across your territories.
Flipping is when you take enemy tiles and “flip them” from red to green. This is a must as you get into large-scale PVP scenarios as it’s the only way to guarantee you have secured the areas behind you.
You will want to be sure that you are actively Abandoning territories you don’t want as you go as this will ensure you don’t reach your territory limit mid-fight. If you know that there is a large area ahead to flip or path through then it’s a best practice to start Abandoning territories a little early so that it’s completely ready to go prior to stepping off for your March.
Bouncing
You’ve heard it said that “the best defense is a good offense” and this remains true for PvP in LotR: Rise to War. The best offensive defense strategy that is very easy to use and master is Bouncing.
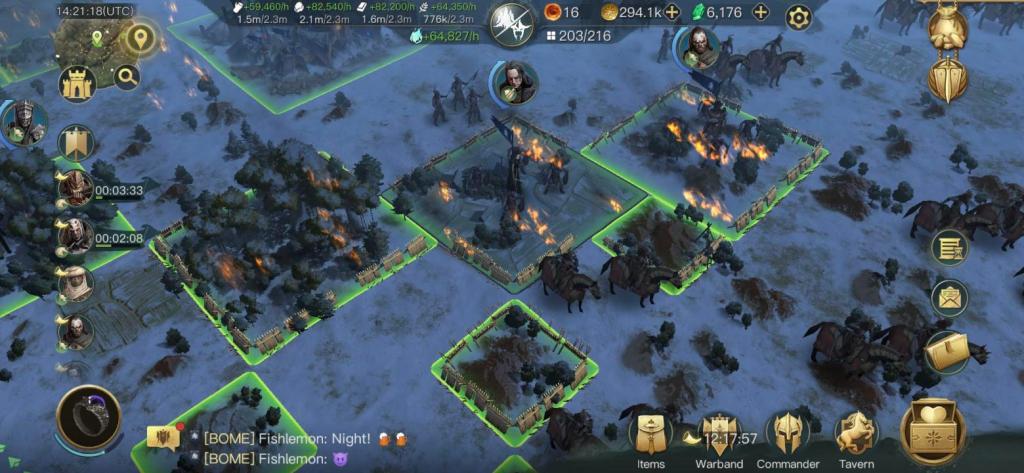
When a tile is taken, either neutral or enemy, there is a period of time where it is “Protected”. After selecting a tile look above the Power number rating, if it is protected there will be a shield icon with a timer counting down beside it. Standard Resource Tiles are protected for 3 minutes, but larger areas of interest such as Keeps and Crossings will be protected for significantly longer.
A protected tile cannot be attacked by an enemy army. Bouncing is the act of taking a tile that an enemy is already marching towards just before their army lands, thus making it protected before they arrive and “bouncing” their army off of the tile wasting their time and Stamina.
The key thing to keep in mind when trying to bounce the enemy is to ensure that you check their march time. If you take the tile but they won’t arrive until after the protection period has ended then you will not successfully bounce them. In addition to checking their march time make sure you check your own to take the tile in question.
It’s best practice to wait as late as possible before indicating that you are going to bounce, so keep an eye on the enemy timer. If it takes me 2 minutes to get to the tile I’m planning on bouncing then I’m going to watch the enemy timer and select March when they are 2 minutes and 6 seconds away. Waiting as late as possible reduces the likelihood that they can recall their army and be refunded some Stamina for the movement.
Remember: the primary goals of bouncing are to deny the enemy freedom of movement and to waste their stamina. Another way to achieve the same effect of bouncing is to remove all enemy tiles that are connected to the one the enemy is trying to take. If the enemy has no connected tiles then they will bounce off the one being taken, so just another way to achieve the same result.
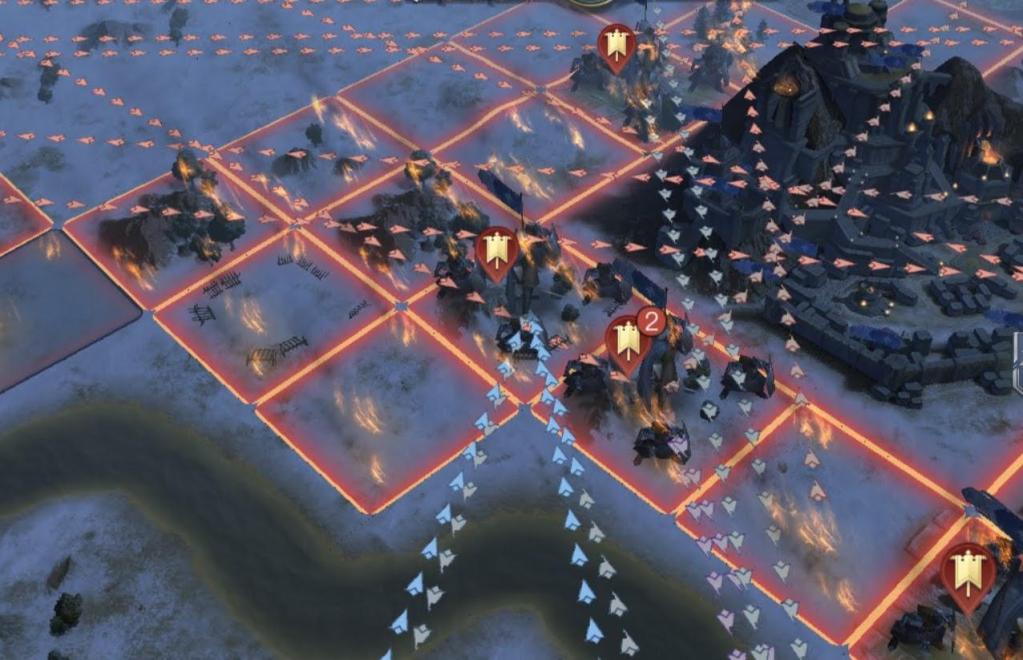
Guard
Offense is good, but sometimes defense is actually the best defense in LotR: Rise to War PvP. Selecting a tile with one of your Commanders on it will give you the option to Guard by selecting a shield icon next to their picture. This will activate a Defense for the tile they are standing on as well as tiles connected to that tile.
Guarding will allow the chosen Commander to act as the first line of defense for all connected tiles. This is extremely useful for protecting high-value resource tiles, Crossings, Tunnels, and Fort Clusters.
If you are confident that you have a high power Commander that can handle an incoming threat then use the Guard action as an “ambush,” waiting until the last moment before the enemy army lands to activate your defense and face them head-on. Just be aware that there is a 13-minute cooldown timer before you can reactivate your Guard if you choose to end it early.
You can also use your Guard as a bluff. Maybe you see someone start to march early on and have a tiler nearby. Consider trying to activate the Guard early enough that they can recall and waste some stamina. Just be aware that if they call your bluff you’ll need to be ready to move so as to not take unnecessary losses.
Practice and Get Creative
Now that you know some of the fundamentals of basic LotR: Rise to War PvP strategy don’t be afraid to try new things! Look for new ways to implement these strategies on a regular basis and don’t be afraid to fail along the way.
Figure out which ones have the best payoff for your situation and pay attention to what more experienced players are doing around you. You’ll be in a much better place on the battlefield once you get comfortable with these initial strategies.
More LotR Rise to War Guides from OCG
Join our Community
If you found this Guide on LotR: Rise to War Must Know PvP Strategy useful, then join our community below to be kept up to date on any new LotR Rise to War Guides added to the site.