As discussed in our Doom Tower Guide, the Doom Tower is an extremely challenging yet rewarding game mode. To go high into the Doom Tower, for the best rewards, you will need to overcome 8 different bosses. In this Raid Shadow Legends Doom Tower Bosses Guide we will take you through each one, providing you with details and strategies which will help you overcome them.
Of course, it should be noted that will all things RAID it is never quite that simple! Every rotation is a little bit different, as you sometimes will run into different bosses with different affinities. Some require more tweaking, some require less, or none. However, this Raid Shadow Legends Doom Tower Bosses Guide is a good start and will stand you in good stead with the information you need to defeat them.
Table of Contents
Kuldath the Magma Dragon
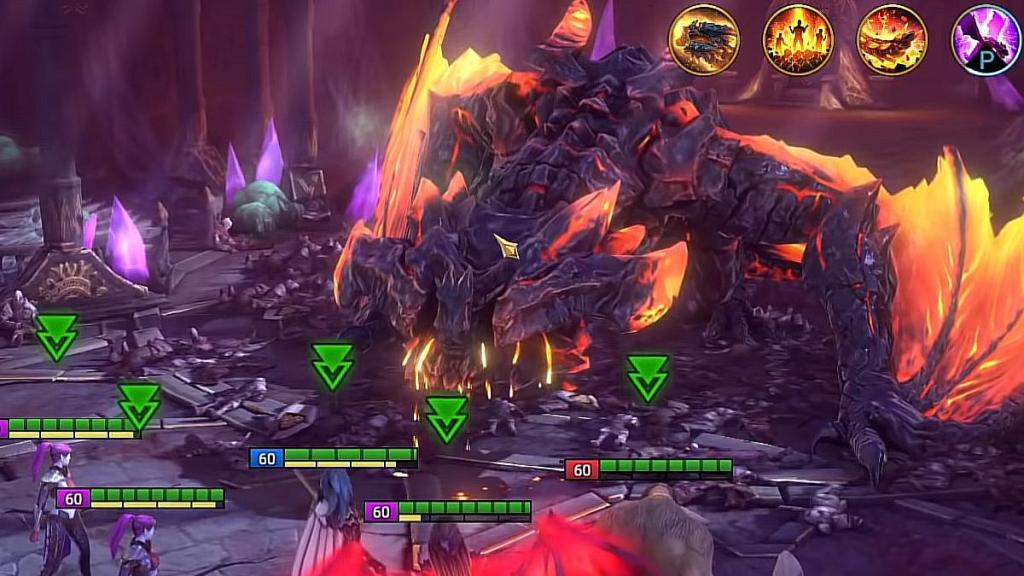
Kuldath the Magma Dragon is the first of the Raid Shadow Legends Doom Tower Bosses on today’s menu. If you don’t approach this fight with a Champion who can provoke the Magma Dragon then you are in for a world of pain as Kuldath rains down hellfire on your entire team. Hex is the basis of his entire kit. He will ignore the defense of a Hexed target and hit them hard. If you can manage these then your life will be a lot easier.
Kuldath the Magma Dragon appears in Rotations 1 and 2 of the Doom Tower and is considered one of the easiest Bosses of the Doom Tower by the Raid Shadow Legends Community community. Unlike the vast majority of bosses in the game, you can provoke Kuldath which trivializes this fight. All you need to do is bring in provoke champion/s who can keep provoking him for most of the fight and you should be good to go.
Nevertheless, this DOES NOT mean he is a pushover by any means. If you fail to provoke the Magma Dragon he will wreck your team with his extremely high damage skills, combined with hex debuffs. Take some of the following tips into consideration to give yourself the best chance:
- Keep in mind that Kuldath will immediately cleanse any HP burn applied to him and replace it with continuous healing. Don’t bring anyone with HP burn effects into this fight, and if you do, simply avoid skills with this debuff.
- Kuldath can ignore any unkillable, shields and block damage buffs, or simply any defensive buffs in the game if he hexes a champion. Therefore unkillable or highly defensive team comps are useless against him.
- Be cautious when cleansing the Hex debuff; if you remove Hex from an ally, you will transfer Hex onto the champion cleaning it.
- Everything listed above just underlines the point that Provoke is the glaring weakness you want to exploit. Provoked Kuldath cannot spread hex amidst your champions or use any of his better skills.
Sorath the Frost Spider
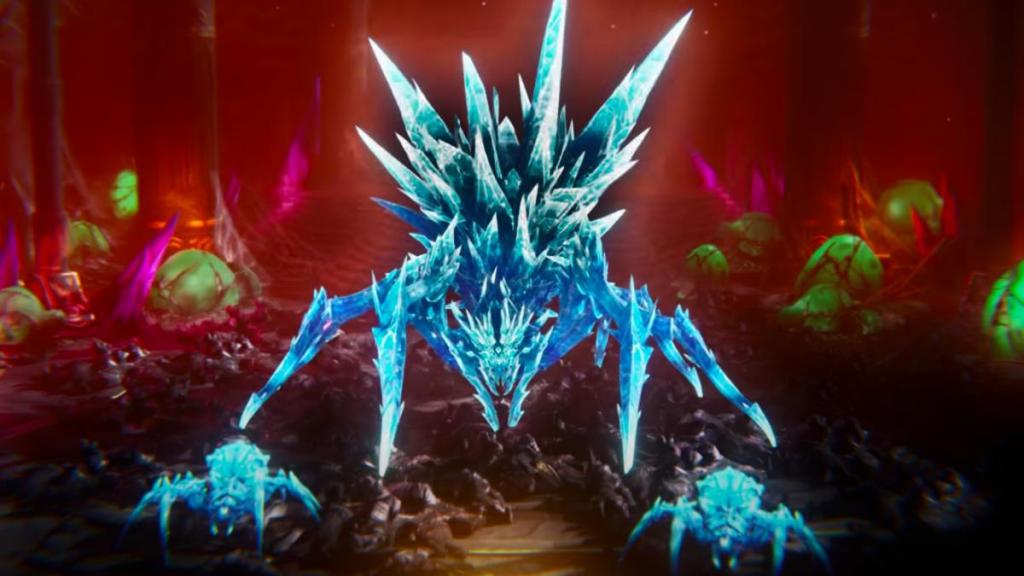
One of the two Spider bosses in the Doom Tower, Sorath employs her two spiderlings to support her in a fight with ATK buffs and by removing any debuffs from her. It is highly advisable you bring an HP burn champion with you for this fight, otherwise, Sorath can easily come back into the fight thanks to her Passive Revive!
She also has an absurdly high Resistance stat, therefore, meaning you will need to pack some seriously godly hardware on your Champions to even make a dent at the higher levels of this boss. This is unless, of course, you bring a champion with HP Burn, which deals damage based on the enemy’s max HP, ignoring the resistance.
Other than HP burn you will need a highly defense-oriented team for this job. It takes a WHILE for HP burn to do its job, and in the meantime, you need shields, heals, and cleanses to survive the relentless barrage of Sorath’s attacks.
This fight is not that hard or RNG-oriented if you come in with all the aforementioned elements, it’s simply a little drawn out, and people can make stupid decisions when bored. So seriously, arm yourself with patience.
The Frost Spider will revive herself automatically when her HP reaches 0. The only two ways to prevent this are to have HP Burn be active on her when her HP reaches 0, or bring in a Champion with Block Revive. The former is highly advisable since you will need that HP Burn anyway to slowly chip away at her HP. Just make SURE it is active when she goes down.
Agreth the Nether Spider
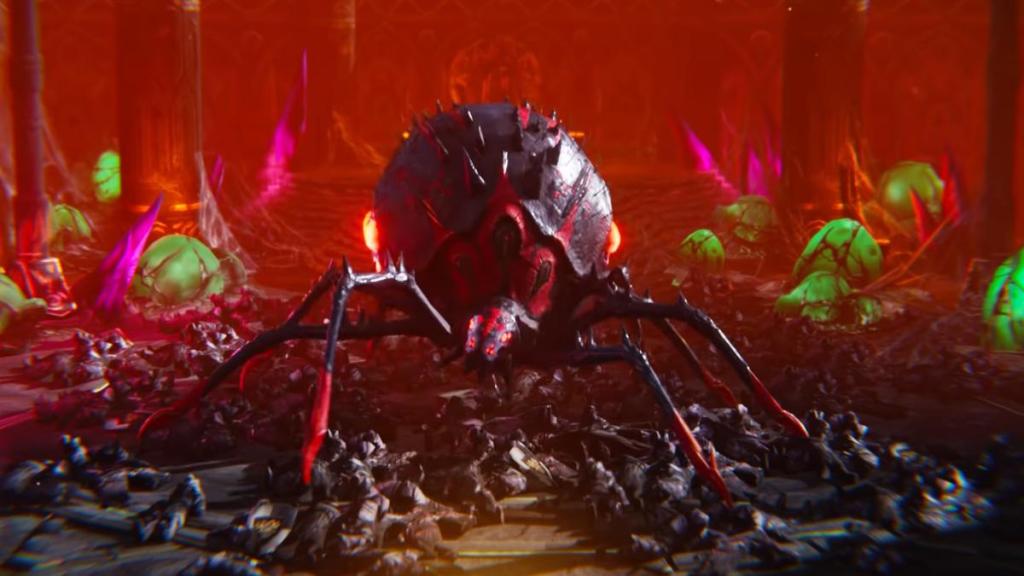
Agreth is a venomous spider, and she wants you to know it. It is common for the Nether Spider to open the battle by poisoning everyone on your team. Your first order of business is to get rid of that poison. Just like Sorath, Agreth has some 8-legged helpers. Attacking them instantly poisons your Champion which makes things complicated.
Agreth appears in Rotations 1 and 2 of the Doom Tower. As with other Boss in the Raid Shadow Legends Doom Tower, you will need to exploit specific strategies to win. Agreth’s pals don’t deal a lot of damage, the real threat is the poison they will apply when you attack them.
Agreth has an ability that “detonates” poison stacks, turning them into a large blast of damage that can easily devastate your squad. The only viable option to combat that is to either outheal the poisons or cleanse them.
Block Debuff and Resistance do NOTHING against Agreth’s poisons. They can only be cleansed when already applied to your Champions, and cannot be prevented before. Take some of the following tips into consideration to give yourself the best chance:
- Don’t bring champions that steal turn meter into this fight. Agreth has a mechanic that empowers her next attack for the amount of turn meter stolen from her.
- Don’t use AoE abilities. You don’t want to get more stacks of poison on your champions from hitting spiderlings. Focus on Agreth.
Borgoth the Scarab King
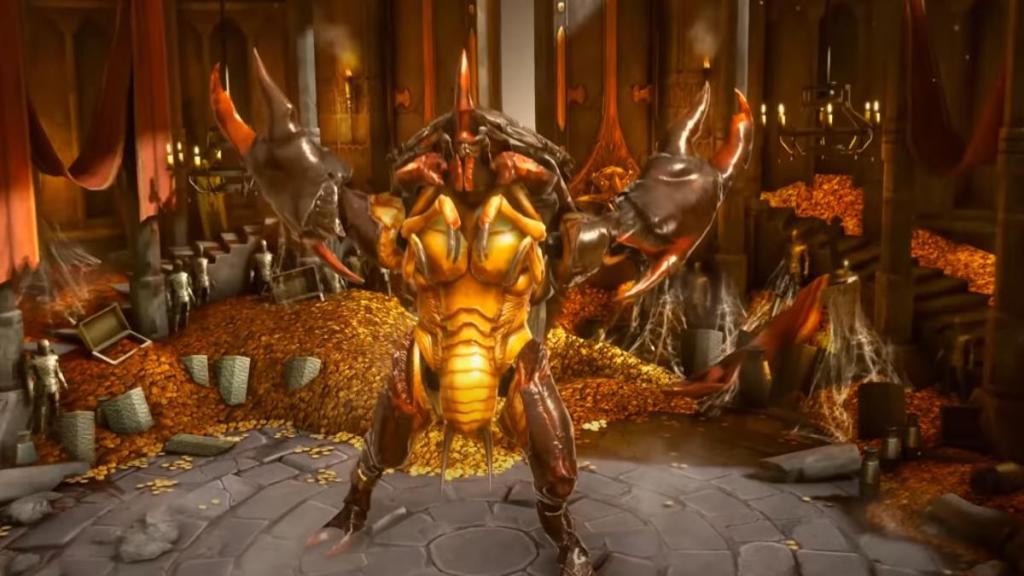
Borgoth doesn’t have a gimmick per se, he’s just REALLY tanky. He starts out the fight by negating the vast majority of the damage coming his way. He will begin taking normal damage once his MAX HP reaches 60%.
Additionally, he retaliates for almost every single attack against him, forcing you to use shields before you even touch him to protect your Champions. It is advised to bring his HP down to 60% as quickly as possible which can be done with Destroy Max HP champion talents or the more convenient “Destroy” Artifact Set.
Rotations 1 and 3 of The Doom Tower feature encounters with the Scarab King. The 4 golden rules of battling Borgoth are: shield yourself, reduce his turn meter, apply poisons, and lower the enemy’s maximum HP as often as possible. Take some of the following tips into consideration to give yourself the best chance:
- Shield up! – Your team must always have a shield up. This is due to the fact that the boss will retaliate if struck by a champion who is not currently shielded. Your runs will probably fail if you don’t do this. Going hand in hand with this is the speed of your champions, they must be just right. Too fast and your champion will speed through his shielded turns faster than the buffer can re-apply them.
- Attack His Turn Meter – The Scarab King is super susceptible to debuffs that cripple his turn-meter generation. He cannot prevent it, nor does he get buffed by it like Agreth for example. Just be cautious of champions that STEAL turn meter, because you can quickly lose your shields and lose champions to retaliatory strikes.
- Use Poisons! – As I mentioned before, The Scarab King reduces damage until he gets down to a certain HP level. However, poisons ignore this mechanic and deal a regular amount of damage to Borgoth, which is a huge help!
Iragoth the Eternal Dragon

Iragoth is featured in Rotation 2 of the Doom Tower. Be sure not to ignore the allies he summons as doing so would give Iragoth his Eternal Rage buff. At the same time, however, don’t try to kill all of them at once as this can open your team up to vulnerabilities.
Targeting the Eternal Priest first is the best course of action as that denies Iragoth an extra turn he usually gets by consuming him. After that, you are left with 2 guards, kill one of them and simply ignore the other. Iragoth will occasionally heal for quite a substantial number because of this, but at the same time, he gets a massive buff to damage reduction when he’s the only one left standing.
Once you have managed to deal with his followers, you will then need to control the Eternal Dragon himself. This is where decrease ATK debuffs come on, you will need them applied on Iragoth for the entire fight so the more the better. You should also avoid bringing Champions with long cooldowns as Iragoth increases his DMG output for every cooldown in your team.
In addition, Cleanse or the Block Debuff buff are highly recommended to avoid being silenced by Iragoth which will prevent some of your champions from using skills. Make sure to use some of the further tips below to yourself a good shot against Iragoth the Eternal Dragon.
- Don’t Bring Fragile ATK Champs: Even with ATK debuffs Iragoth will ROCK your team. Don’t bring anyone who cannot take a strong hit and live to tell the tale.
- Bring Lots of Healing: This ties into the previous point. Iragoth will eventually bring down even the most resistant tanks in the game unless you replenish those HP bars often.
Grythion the Celestial Griffin
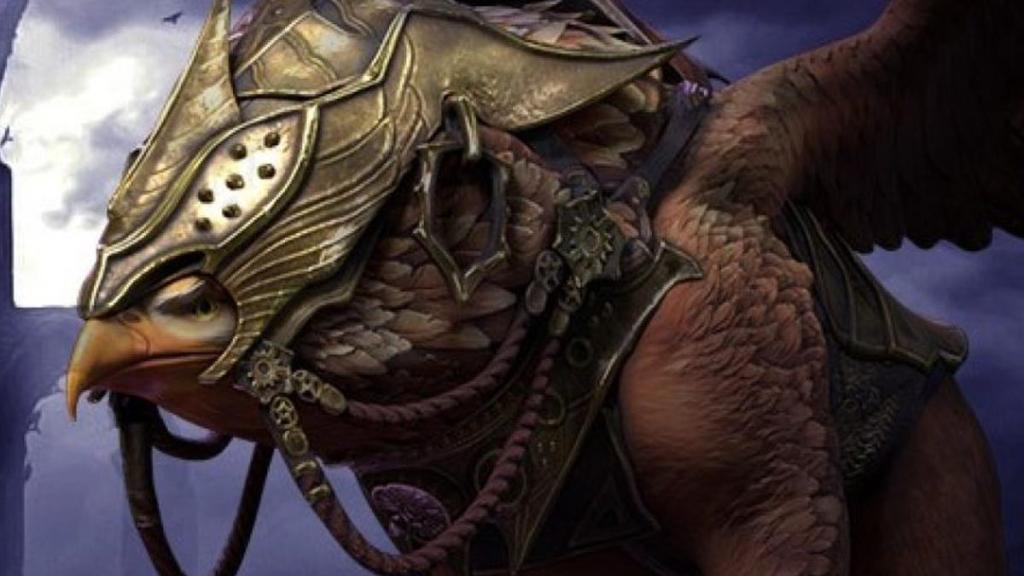
Grythion is the opposite of Borgoth in that he grows more powerful the less HP he has. He is one of the bosses that makes an appearance in Rotations 2 and 3 of the Raid Shadow Legends Doom Tower.
The Griffin gains strength to his Sky Bond passive stacks that accumulate through the fight, gradually raising Grythion’s attack, critical rate, critical damage, and speed. Eventually, his attacks will ignore all defensive buffs like Shields, Unkillable, etc.
This happens once the stacks are above 10. As a result, you must control the rate at which he acquires these stacks. He will acquire a stack each time he takes a turn, as well as every time one of your champions falls below half of their max HP.
Your squad should be defense-oriented enough to make sure no one falls below this threshold. Applying Attack debuffs to this boss will also greatly help you with surviving this encounter. The shorter the cooldown of skills with that debuff on your champions the better. You don’t want to give him even 1 turn of full damage because it can wipe out your team. Use these additional tips to help you out more:
- Don’t bring ANY Turn Meter manipulation! – every time you reduce Grythion’s turn meter, your team gets hit with the same turn meter reduction. Every time you speed up the turn meter generation for your team, his turn meter gets progressed for the same amount. The only way to win this game is to not play.
- Don’t stack too many buffs – Grythion has the ability to transfer status effects from him to your team members, or vice versa. Thus don’t use increase ATK, or he can grab it from you. The only debuff that matters is Decrease ATK which can still be deflected, but you should apply it every chance you get anyway.
Bommal the Dreadhorn
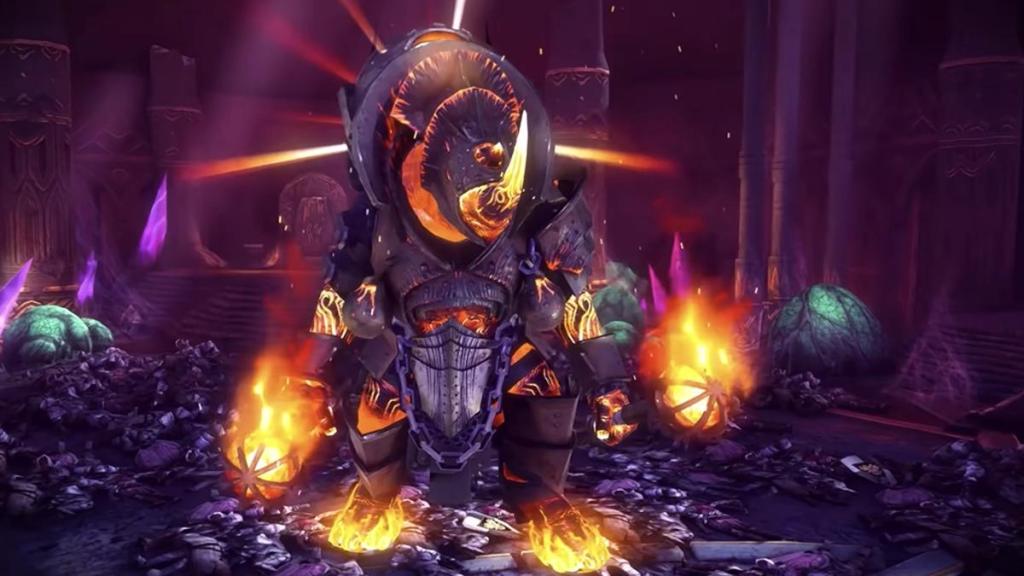
Rotation 3 of the Raid Shadow Legends Doom Tower is where you meet one of the next bosses, Bommal the Dreadhorn. For the majority of players, Bommal will be quite challenging, maybe even THE most challenging boss of the Doom Tower.
There is no method to protect yourself from bomb damage in Raid Shadow Legends other than just having a big HP bar and it just so happens that Bommal LOVES bombs. Other than the insane damage Bommal does, he also has a 50% chance of stunning every member of your squad when one of his bombs goes off. His bombs cannot be removed with cleanse or prevented with “block debuff”, but raw stats can help you.
More specifically resistance, and you will need A LOT of it for this fight. Even that is not enough for higher difficulty Bommal fights, where you additionally need to decrease his ACC.
Bommal will also sling bombs every time he removes a buff from your champions and plants a bomb on any champion that places a debuff on him. Healers and Revivers will need to work overtime to keep your team alive for this boss.
Bommal’s minions, called the Dreadbombs, are also a threat. They cannot be killed and are only affected by freeze and HP burn debuffs. When they pop, they deal a predetermined % of your Champion’s max HP in damage. If you apply Freeze to them before they explode, the damage will be reduced by half. Every five turns, Bommal will summon two of them.
Each explosion adds cumulative damage to your party. If 3 Dreadbombs explode at once, and without being frozen, your party will get wiped out no matter what. There is no way to lessen this damage because the explosion will negate any shield and defense bonuses. So freeze them every chance you get. These additional tips should also help you out:
- Don’t decrease Bommal’s turn meter as this causes Dreadbombs to instantly spawn.
- Each buff or debuff could result in another bomb spawn. Only use those that are worth risking.
- Cleanse won’t do much for you in this fight, but can help if your team gets stunned by a bomb explosion, so it might be worth keeping one AoE cleanse around.
Astranyx the Dark Fae
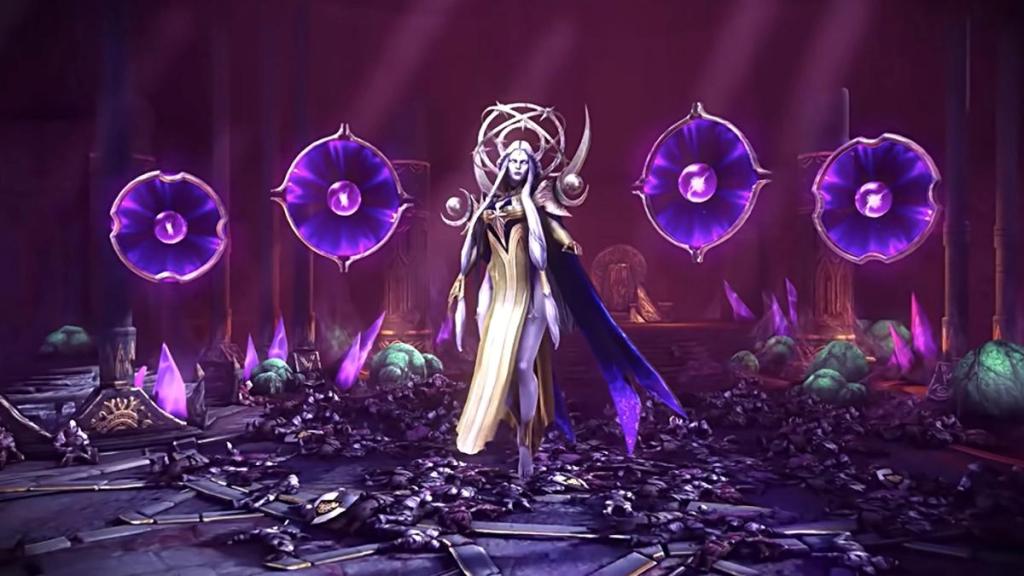
Astranyx fights using clones of your champions. Because these mirror copies are precise replicas of your heroes, the encounter depends on how strong your team is. Affinity is something you’ll need to be mindful of because the Dark Fae will exploit any affinity weakness.
There are a few strategies to deal with the clones that Astranyx produces at the beginning of the fight and at various other points in the fight. However, beyond dealing with these mirror duplicates, stopping Astranyx from taking a turn is the best method to beat her. To achieve this, you need to run numerous Turn Meter controllers and use Decrease Speed to slow her down.
It may be necessary for you to manually play this encounter to make sure that your team doesn’t enter the fight with Astranyx herself with skills on cooldown which can go bad really quickly. These additional tips should also help you out:
- Don’t bring in tanks – mirror versions of your tanks can prove extremely difficult to put down.
- Having one of your champions be extremely SPD-oriented will give you an edge.
- Having a fast AOE Nuker, accompanied by some Turn Meter boosting can lead to eliminating the clones in one or two turns.
More Raid Shadow Legends Guides from OCG
Join the Community
If you found this Raid Shadow Legends Doom Tower Bosses Guide useful, then join our community below to be kept up to date on any new Raid Shadow Legends Guides published along with other interesting posts from the website.